Collection
Picture Frames
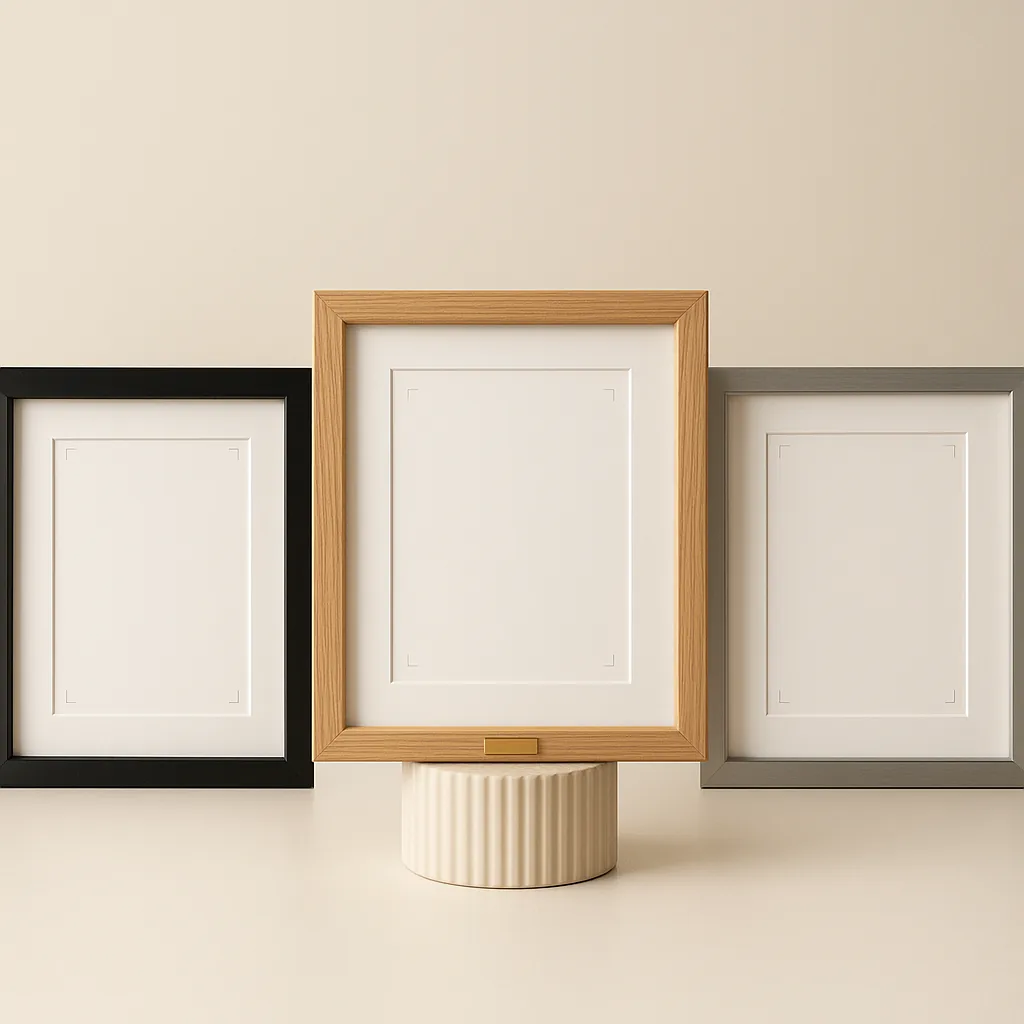
Black, white, oak-effect and slim metal profiles for standard prints, photography and larger poster formats, organised by visible finish and frame size.
View CollectionBound the composition
A strong wall arrangement is controlled by a small number of shared edges, measured gaps and a clear lead piece rather than by filling every available space.
Collection
Black, white, oak-effect and slim metal profiles for standard prints, photography and larger poster formats, organised by visible finish and frame size.
View Collection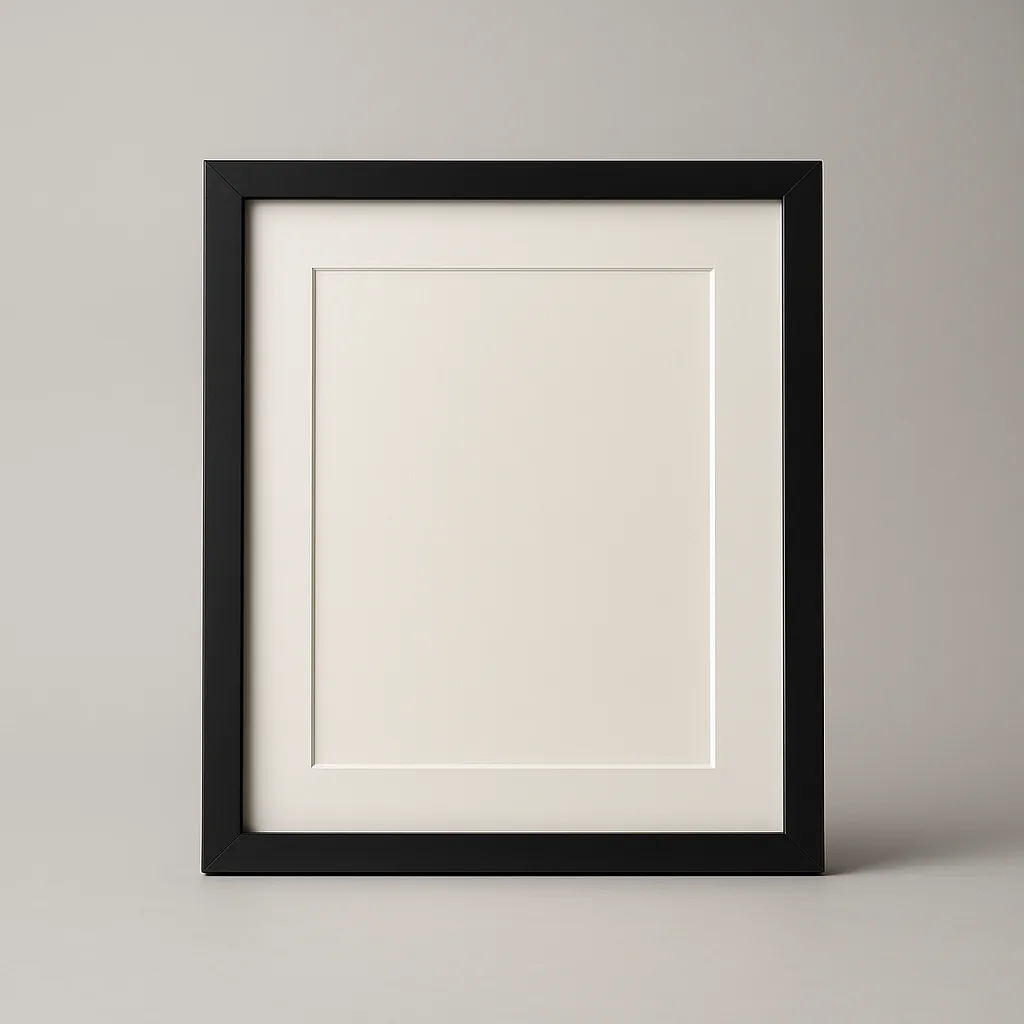
View product
A clean black profile that gives photographs and posters a firm visual edge.
View productBegin by measuring the available wall area and marking a notional boundary for the complete arrangement. This outer shape gives the group a relationship to nearby doors, shelves, desks and furniture before individual frames compete for attention.
Create paper templates at the full outer size of each frame or rail, label their orientation and test them inside the boundary with removable low-tack tape. Measure the gaps rather than judging them by eye, especially when profiles have different visual weights.
Keep switches, sockets, heat sources and opening doors outside the planned area. Wall construction and hidden services affect where fixings can be placed, so seek qualified advice when the surface or safe fixing location is uncertain.
Choose one organising principle and let the different print formats work inside it.
Use one larger frame as the only display element within a generous measured margin.
Align frames to a shared rectangle with equal horizontal and vertical gaps.
Use one common vertical edge for varied formats and allow the opposite side to remain irregular.
Pair an enclosed frame with an open hanger using a shared centre line or one outer edge.
Step back and photograph the paper layout so proportion and empty space are easier to judge.
Check that size, rail width, finish and orientation in the basket match the template.
Transfer only the necessary top edges and fixing points, checking them with a suitable level.
Install the lead piece first, then use its measured edges to position the remaining hardware.
Compare enclosed frames with open-sided poster systems, then add the required formats to one basket.
Related products
A few catalogue examples that connect the guidance, process, or service topic to the actual storefront.
A clean black profile that gives photographs and posters a firm visual edge.
From £24.00
View product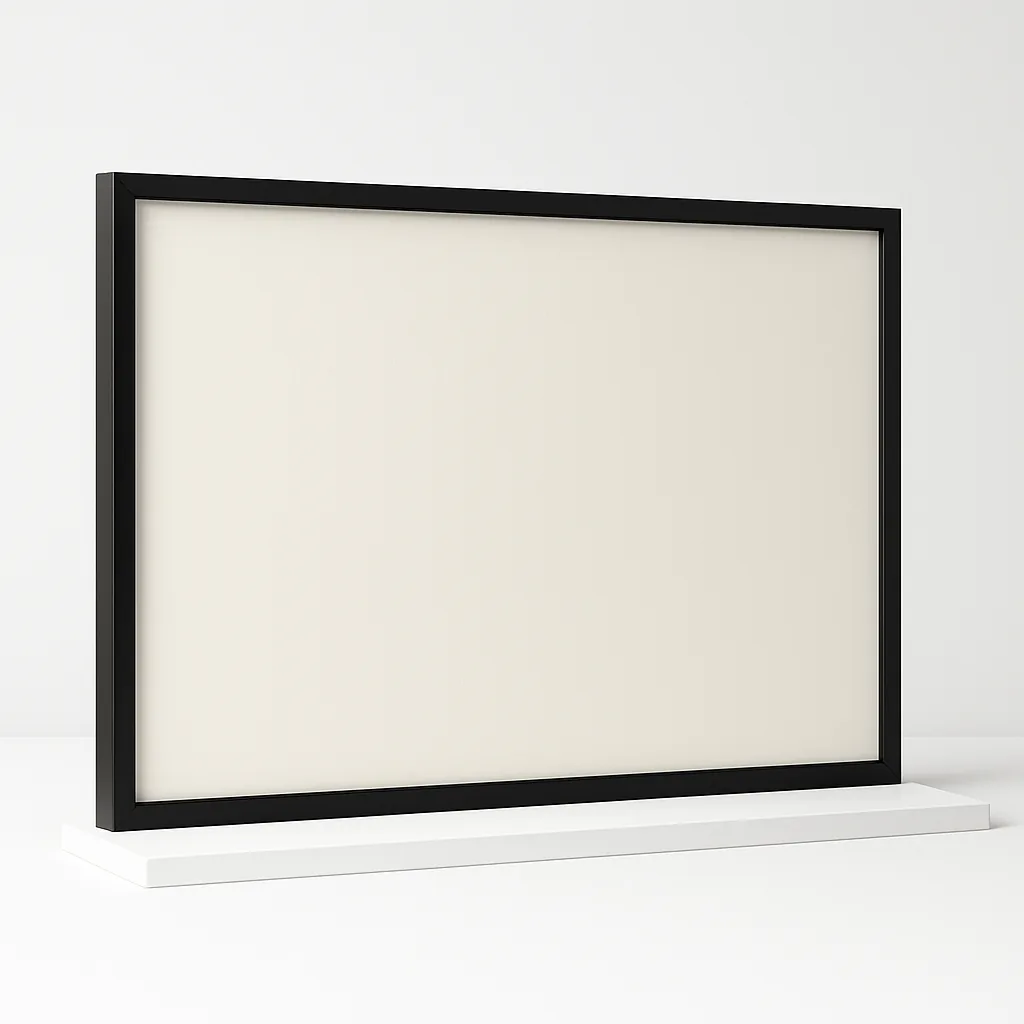
A wide-format frame designed to give larger poster sheets a defined perimeter.
From £72.00
View product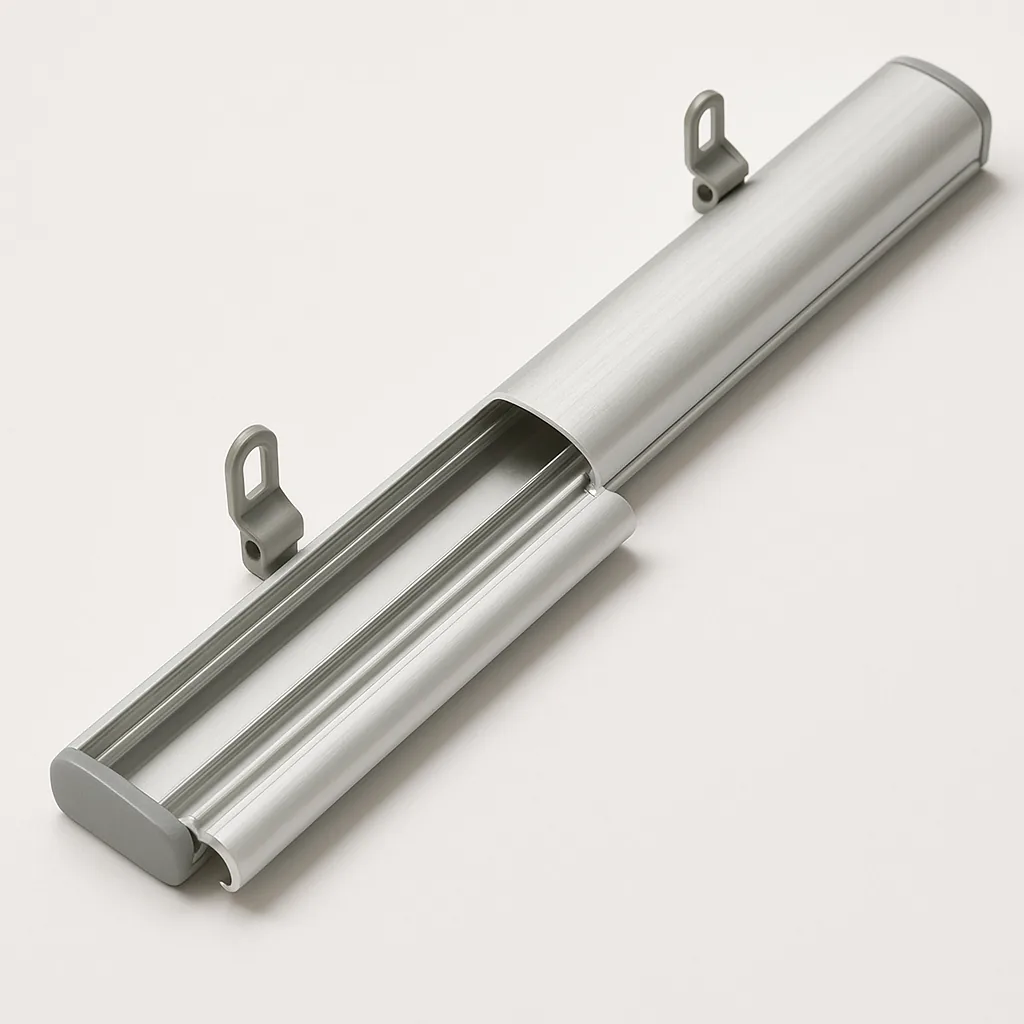
An aluminium-look rail that opens at the front for quick poster replacement.
From £29.00
View productBasket
0 items in cart
Your cart is saved in this browser until you clear it. Need help now? Contact us on +447432 872114.